Specs are compiled from manufacturer listings and verified buyer reviews and can change over time — please confirm the key details on the product page before buying.
Because the screen is the part of a Pi project you look at most, match its resolution and touch layer to the job. For the safest all-round pick, the ELECROW 5-inch is the crowd favorite — 4.5+ stars across 600+ owners — because it pairs a crisp 1024 x 600 panel with plug-and-play setup and a price that leaves room for the rest of your build. Need a bigger canvas for a desktop or dashboard? Go larger. Building a compact appliance like a Klipper screen? Go smaller, and match the ribbon cable (the flat flex cable that carries the signal), not the HDMI port.
This guide is built by comparing the manufacturers’ published specifications and the patterns across verified customer reviews, so you get each pick’s real strengths and trade-offs instead of marketing spin.
Some Pi screens connect over a ribbon cable and others over HDMI, and that single choice decides whether your board even boots to a picture. Below you will find the practical differences laid out plainly in this Raspberry Pi Touchscreen buying guide, from resolution to touch points.
Top Picks
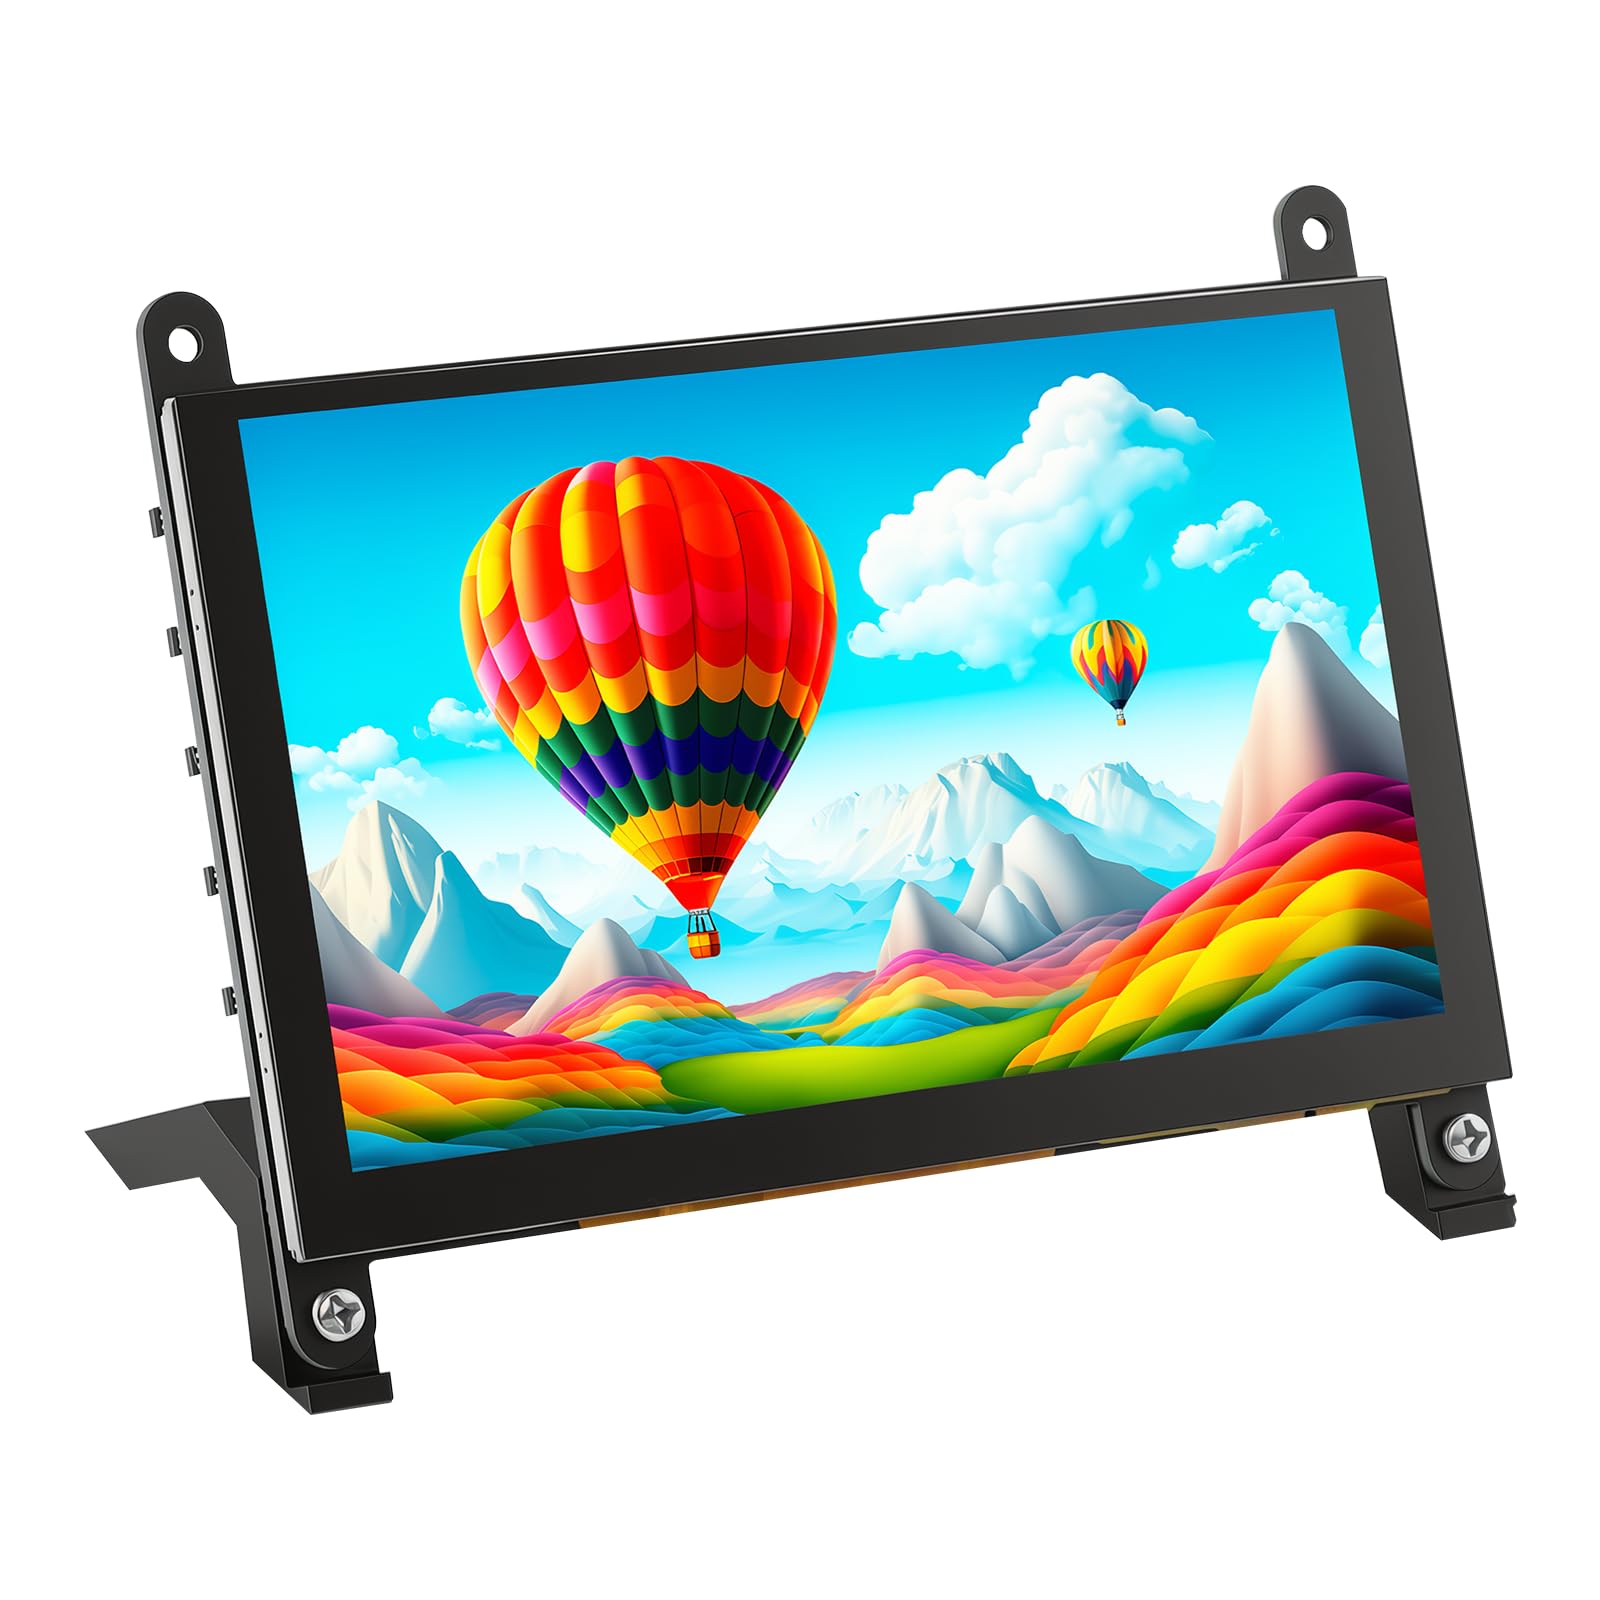

How To Choose The Best Raspberry Pi Touchscreen
The fastest way to waste money here is buying a panel your Pi has no port for. A Raspberry Pi screen reaches the board one of two ways: through the flat ribbon connector on the board (often called DSI) or through the HDMI port with a separate USB cable for touch. Check which one your model supports before anything else. The second decision is size and resolution, because a 5-inch 800 x 480 panel and a 10.1-inch 1024 x 600 panel show completely different amounts of text.
Ribbon cable or HDMI — match the port, not the photo
A ribbon-cable display, like the FREENOVE 5-inch, plugs straight into the Pi’s display connector and pulls power from the board. That makes a tidy, cable-light build. The catch is that a ribbon screen generally will not work with a plain laptop. An HDMI touchscreen, like the ROADOM 7-inch, sends video over HDMI and touch over USB, so it also works with a Windows PC or a game console. Pick ribbon for a dedicated Pi appliance, HDMI for a screen you want to share across devices.
Resolution and aspect ratio decide how much fits
Resolution is the pixel grid — 1024 x 600 means more horizontal room than 800 x 480 for menus, terminal lines, and data columns. Aspect ratio is the shape of that grid: 16:9 is widescreen, 16:10 is slightly taller, and 1.66:1 sits close to the older 5:4 feel. If you are running a dashboard or a text-heavy terminal, the wider 16:9 panels give you more columns before anything wraps.
Touch points and how you will actually use the screen
A capacitive touchscreen registers your finger by sensing the electrical change on the glass, which is why it feels like a phone. Some panels report five simultaneous touches, others only one. On Raspberry Pi OS many HDMI screens run single-touch unless configured, so do not assume the “5-point” spec applies to every operating system. If you only tap buttons on a control panel, single touch is plenty; if you pinch and zoom, check the OS support line.
Brightness, viewing angle, and what comes in the box
Brightness is listed in candela per square meter (cd/m²) or nits — higher numbers hold up better near a window. A 178° viewing angle means the picture stays readable when you step to the side. Then read the included-parts list carefully: stands, HDMI adapters, GPIO cables, and power adapters are the things people end up ordering separately when they forget to check.
Side-by-Side Comparison
| Model | Best For | Screen Size | Resolution | Touch / Connection | Amazon |
|---|---|---|---|---|---|
| ELECROW 5″ Touch Screen Monitor★ Best Overall | Best all-round small build | 5 inch | 1024 x 600 | 5-point capacitive / HDMI + USB-C | Amazon |
| FREENOVE Touchscreen 5 Inch IPSCleanest Build | Clean ribbon-cable Pi build | 5 inch | 800×480 pixels | 5-point capacitive / Ribbon (no HDMI) | Amazon |
| Hosyond 7 Inch IPS LCD Touch Screen | Second screen and CCTV setups | 7 inch | 1024 x 600 | Five-point capacitive / HDMI | Amazon |
| HAMTYSAN 10.1 Inch Touchscreen Monitor | Big DIY desk panel | 10.1 inch | 1024 x 600 pixels | 5-point touch / HDMI + USB | Amazon |
| ROADOM 7″ Touchscreen Monitor | Complete kit with case and speakers | 7 inch | 1024×600 | 5-point capacitive / HDMI + USB-C | Amazon |
| ELECROW 10.1 Inch Touchscreen Monitor | Highest resolution here | 10.1 inch | 1280 x 800 pixels | 5-point touch / HDMI + USB | Amazon |
| Raspberry Pi Touch Display 2 | Official first-party build | 7 inch | 720 x 1280 | Touchscreen / Designed for Pi boards | Amazon |
Detailed Reviews
1. ELECROW 5″ Touch Screen Monitor
Our pick — 4.5+★ from 600+ verified ratings; the strongest balance of quality and price.
A 5-inch panel that squeezes 1024 x 600 pixels into a project-box footprint and still boots without a driver.
The combination you are paying for here is a 5-inch IPS capacitive touchscreen with a 1024 x 600 resolution and a wide 178° viewing angle. IPS is the panel type that keeps colors steady when you look from an angle rather than straight on. In practice, that means you can mount this on the side of a build and still read a status readout while reaching around it. The 410 candela per square meter brightness figure (a measure of how much light the panel throws) keeps the picture usable in a bright workshop.
You get a working screen without touching a driver or installing software — plug in the HD cable and the USB-C cable and it comes up. The box ships with a 1m HD cable, a Micro-HD adapter for the Pi 4B and 5, a 1m USB-A to USB-C cable, and a four-piece M2.5 standoff kit (the small posts that hold the board off the surface), so you are not hunting for a bracket the day it arrives. Compare that to the bare-board screens here, which can leave you waiting on a stand or bracket.
One thing to know before you buy: on Raspberry Pi systems this panel runs single-touch, while the 5-point multi-touch works on Windows 11, 10, 8, and 7. If your plan is a Windows-based control panel, you get the full gesture set. If it is a Pi terminal or RetroPie box, expect one finger at a time — which is all a menu system needs anyway.
What earns the top slot
- 1024 x 600 on a 5-inch panel — noticeably denser than the 800×480 FREENOVE below
- Works with Pi 5, 4, 3 B+, BB Black, Banana Pi, and Jetson Nano
- 410 cd/m² brightness and 178° viewing angle for angled mounting
- Headphone jack plus an on-screen menu for brightness and contrast
- Nothing to install — plug in and the picture appears
Where it asks you to compromise
- Multi-touch drops to single-touch on the Pi’s own operating systems
- A 5-inch canvas is tight for full desktop work
- The standoff kit needs a screwdriver and a steady hand to line up
Built for: tinkerers who want a compact, sharp panel that works with several boards and needs no driver hunt.
Think twice if: you want pinch-to-zoom on Raspberry Pi OS — this one hands you single-touch there.
2. FREENOVE Touchscreen Raspberry Pi 5
The tidy option: bolt the Pi to the back, run one ribbon, and the whole build becomes a single slab.
There is no HDMI port on this display, and that is the whole point. You fix the Pi to the back of the screen and connect the ribbon cable, and the board powers and drives the panel directly. The result is a single slab with no HDMI cable hanging off it. The 5-inch IPS panel runs 800×480 pixels at a 1.66:1 aspect ratio — a slightly squarer shape than the widescreen 16:9 panels, which suits retro games and square-ish dashboard tiles.
What owners describe most is how little work installation takes — attach, cable up, power on, and the desktop appears with nothing to configure. The ribbon cables come in two lengths (5cm and 10cm), and the package includes the M2.5 screws, standoffs, and two monitor stands, so a desktop setup is possible straight from the box. It also runs on every Pi from the 1B+ through the 5, which makes it a safe pick if you keep older boards around.
The limitation is worth stating plainly: no system image means no picture, and no HDMI means no laptop, no game console, no Windows PC. It talks to Raspberry Pi boards and nothing else. The 800×480 resolution also falls short of the 1024 x 600 ELECROW above — at 800×480 versus 1024 x 600 pixels — so text is chunkier and you fit less on screen.
The honest trade-off: you trade flexibility for a cleaner build. If the screen lives bolted to a Pi and never moves, that trade is a clear win. If you want to plug a console into it on weekends, this is the wrong shape of screen.
Reach for this if: your project is a permanent Pi appliance and you want one cable, no adapter, and no clutter.
Look elsewhere if: the panel needs to double as a laptop second screen — with no HDMI, it simply cannot.
3. Hosyond 7 Inch IPS LCD Touch Screen

Seven inches, tempered glass under your finger, and two speakers built into the frame.
Audio is the detail that separates this one from the rest of the 7-inch crowd. It carries a pair of portable stereo speakers plus a 3.5mm headphone jack, so a media player, retro console, or CCTV feed has sound without a separate speaker sitting on your desk. The 1024 x 600 IPS panel has a 1000:1 contrast ratio — a measure of how far apart the brightest white and darkest black sit — which gives text and dark UI themes a cleaner edge.
The touch layer is tempered glass over a five-point capacitive sensor, and the brightness and volume drop to a dial switch on the frame rather than a buried menu. Setup runs about ten minutes to a Pi 4 by owner accounts, with HDMI adapters for the Pi 3B and 4B in the box. Display quality is the thing that wins people over, and it repeats across security-camera and second-screen use, where a clear 1024 x 600 image in a small frame is the entire job.
This is a 7-inch HDMI display for Pi-class boards, and it will not suit every mounting idea or every board in a drawer — buyers report mixed notes on compatibility and size, and that tracks. Its footprint is a real consideration too: the listing gives a depth of 0.56 inches against a 6.5-inch width, so plan your desk space around the stand rather than assuming it tucks into a corner.
Why it stands out: built-in stereo sound and a glass touch surface at 7 inches is a combination nothing else here offers.
The caveat: it is a fixed-size HDMI monitor — great for a dashboard or camera wall, less adaptable for builds that need a specific board mount.
Best for: media players, camera walls, and desk second screens where you want audio without extra boxes.
Not the pick for: builds that must bolt to a specific Pi with a ribbon cable and no external cables.
4. HAMTYSAN 10.1 Inch Touchscreen Monitor

A full 10.1 inches of screen for the project that outgrew a 5-inch panel.
At 10.1 inches, this is 10.1 inch versus 5 inch for the smaller picks on this list, and it runs a 1024 x 600 resolution in a 16:9 shape. That makes it the size to reach for when your dashboard needs several tiles side by side, or when a workshop display has to be legible from a few feet back. The 178° viewing angle matters more at this size too, since more than one person can stand in front of it.
Setup is HDMI for picture and USB for touch, with no drivers and no calibration step. You can also bolt a Pi to the back of the panel and treat the whole thing as one DIY unit, which is the way most builders use it. There are three laptop modes — duplicate, extend, and second screen only — reachable through the Windows display settings, so it doubles as a portable secondary monitor when it is not driving a Pi.
The panel quality is the honest weak spot. Picture and touch draw mixed reactions, and a few owners run into touch issues that trace back to a unit rather than the design. Removing the protective film before judging the image is the first thing to try, since the listing calls it out. Expect a good-enough panel rather than a great one, and buy it for the acreage.
Reasons it fits big builds
- 10.1-inch 1024 x 600 display — the largest screen area at this resolution
- 5-point capacitive touch with no manual calibration
- Duplicate, extend, and second-screen modes for laptop use
- Works with Pi 4/3/2/1, Windows 7 through 11, and consoles
Points to weigh first
- Picture and touch feedback are mixed rather than uniformly positive
- No back cover, so the board side stays open
- 10.1 inches is a lot of desk
Pick it when: screen area is the requirement and you can live with a panel that is good rather than exceptional.
Skip the size if: your build lives in a small enclosure — 10.1 inches will dwarf everything around it.
5. ROADOM 7″ Touchscreen Monitor

The one that arrives with a case, a stand, speakers, and a GPIO cable for single-source power.
Nothing fragile sits out in the open: ROADOM wraps the 7-inch panel in a protective case and builds the board and casing into one unit, where most bare boards on this list leave the circuit board and ribbon cable exposed. The 1024×600 IPS panel (in-plane switching, which keeps colors steady from the side) runs a 300cd/m² brightness with a 700:1 contrast ratio and a 178° viewing angle, so the picture stays readable off to the side. Owners talk about display quality most — alongside the fact that it just works with a Pi 4 or 5.
Two details make it practical. The GPIO cable lets you power the Pi and the screen from a single source, which cuts one wall wart out of your project. And the dual built-in 1W×2 speakers mean audio comes from the screen rather than a separate speaker. The box is genuinely complete: HDMI cables, micro-HDMI, USB-A to Type-C and Type-C to USB-A cables, the GPIO power cable, a 4-wire touch cable, a 5V/3A power adapter, a Pi mounting kit, and an adjustable stand.
Connectivity is the mixed note — a few setups take more fiddling than expected to get picture and touch talking at once. The 1024×600 resolution also has to carry a 7-inch panel, so it is not the sharpest pixel density on this list; the ELECROW 10.1-inch beats it outright at 1280 x 800.
What you get in one order: case, stand, speakers, GPIO power — the accessories people forget until the build stalls.
What to plan for: allow time to sort the cabling, and do not expect premium panel sharpness at this resolution on a 7-inch frame.
Right for: first-time builders who want everything in the box and a screen that survives being moved around.
Wrong for: pixel-density purists — this is a capable 7-inch panel, not a high-res display.
6. ELECROW 10.1 Inch Touchscreen Monitor
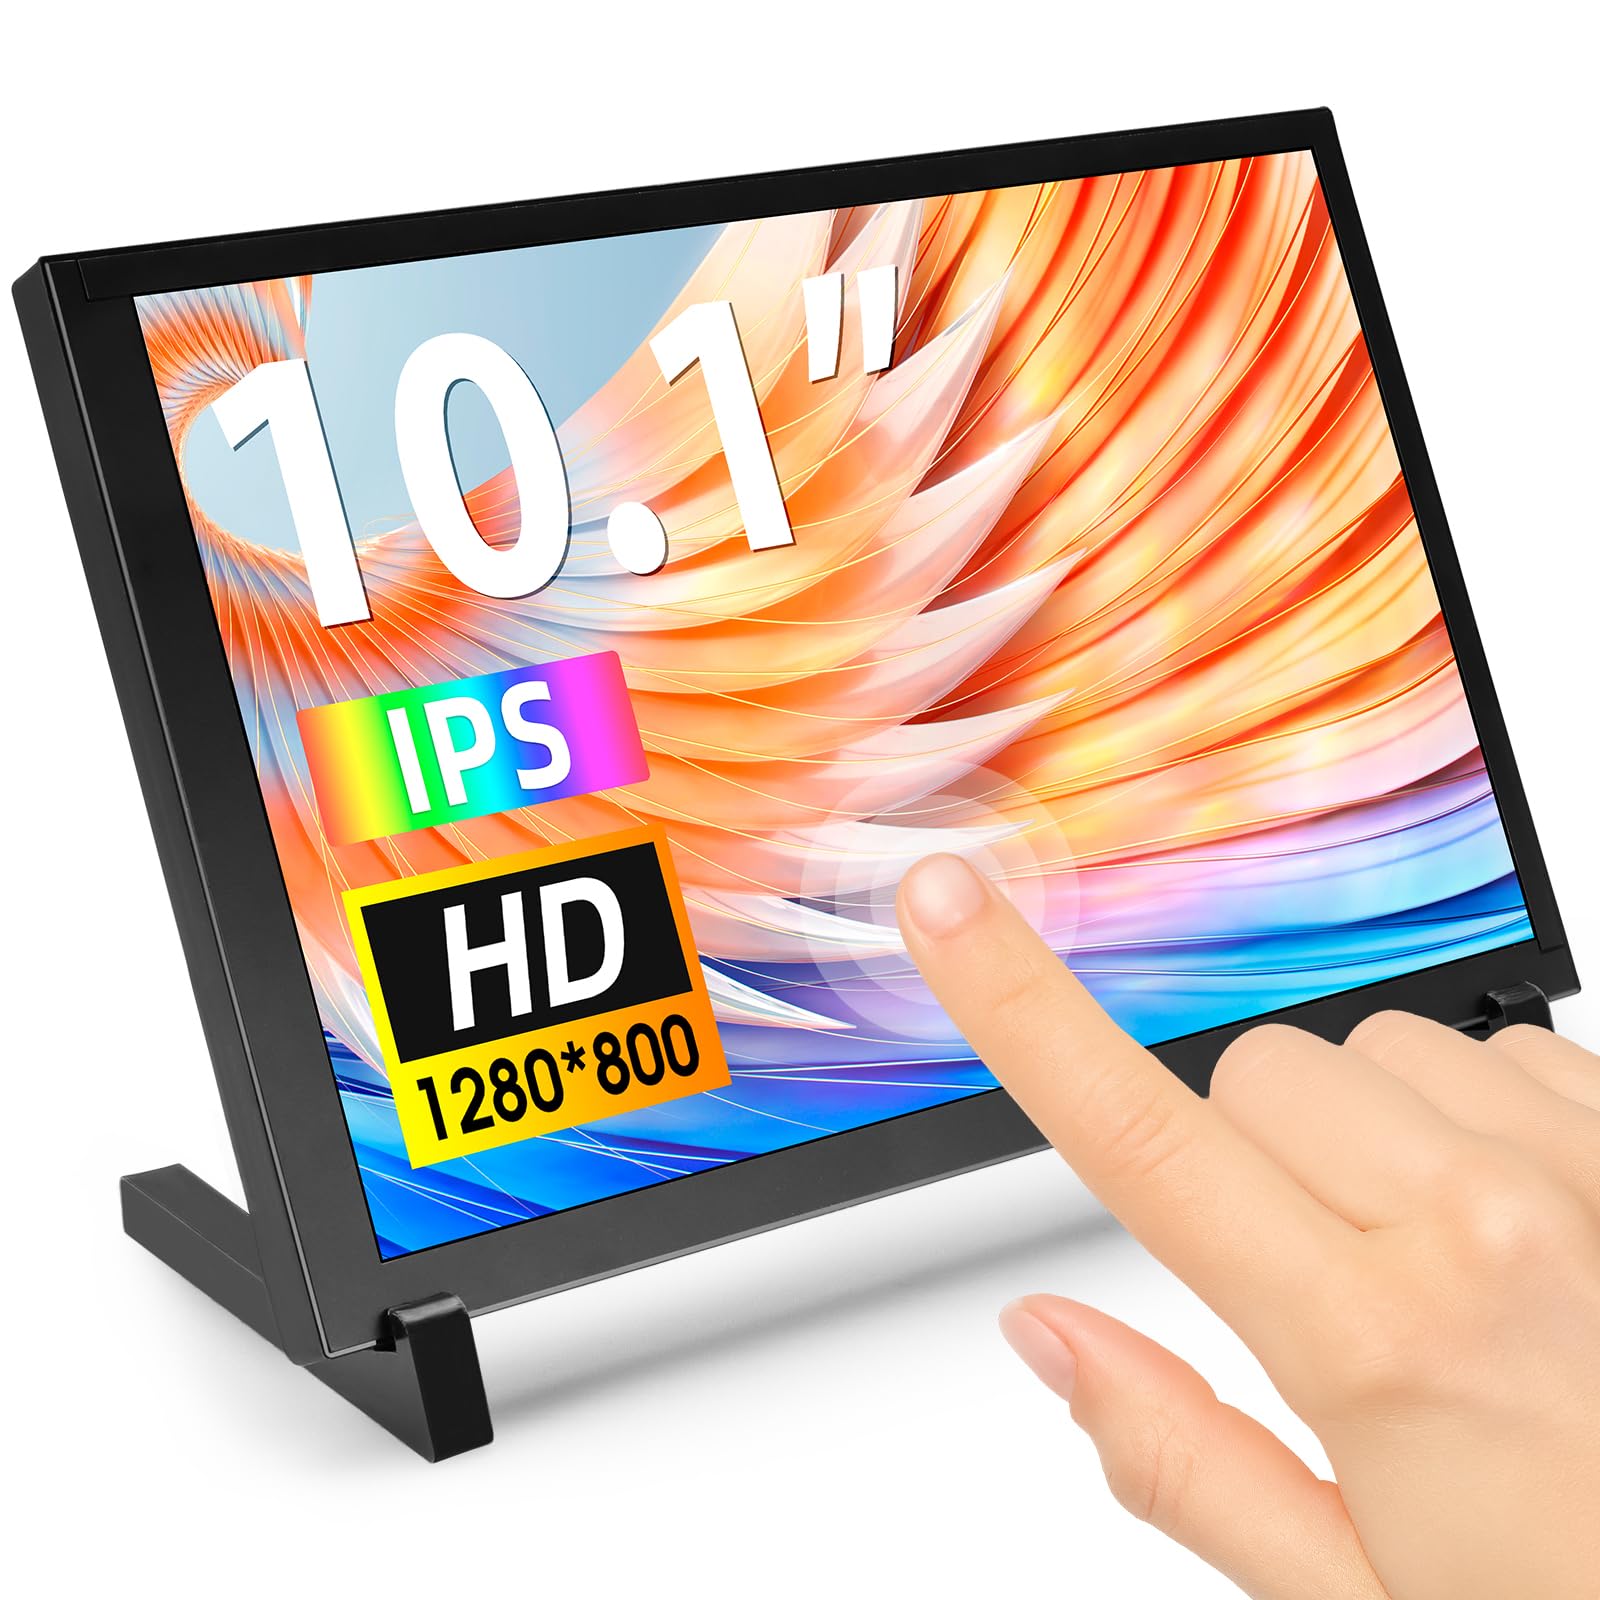
1280 x 800 on a 10.1-inch glass — the densest picture in this whole lineup.
This is the one to buy when text has to look crisp. A 1280 x 800 resolution on a 10.1-inch panel outpixels both the HAMTYSAN 10.1-inch and every 7-inch option here, and the 2000:1 contrast ratio is the highest on this list, so dark UI themes keep their depth. It uses a 16:10 aspect ratio — slightly taller than widescreen — which gives you a few more lines of terminal output before scrolling. The display quality is also the trait that stands out in owner feedback.
Build quality is genuinely travel-friendly: 521 grams and a 24 x 15.7cm body, wrapped in an acrylic case that protects the screen. There are four mounting holes on the back, so you can hang it on a wall or bolt a Raspberry Pi or another single-board computer to it. The box includes an HD cable, a mini-HD adapter, brackets, a screwdriver, and a screw pack — the small stuff that usually means a second order.
The trade-off is the same one ELECROW’s 5-inch carries: 5-point touch applies on Windows, while Raspberry Pi OS, Ubuntu, Kali, and Win10 IoT give you single-point touch. Brightness is listed at 250 candela per square meter, which is dimmer than the 410 of the 5-inch ELECROW above — fine for a desk, less so in a sunlit room.
Why the picture wins
- 1280 x 800 resolution across 10.1 inches — the sharpest here
- 2000:1 contrast ratio, the highest in this lineup
- 16:10 ratio gives extra vertical room for text
- 521g with an acrylic case and four mounting holes
What to plan around
- 250 cd/m² brightness is on the low side for bright rooms
- Single-point touch on Pi operating systems
- 10.1 inches takes real desk space even with the brackets
Choose this for: code, dashboards, and anything where crisp small text matters more than brightness.
Consider a brighter panel instead if: the screen sits near a window — 250 cd/m² will struggle there.
7. Raspberry Pi Touch Display 2
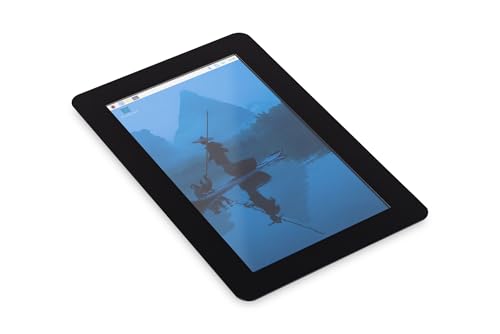
The official screen, built by the company that makes the board it plugs into.
This is the one display here made by Raspberry Pi itself, and that is the reason to consider it. The 7-inch LCD puts 720 x 1280 pixels on screen with 24-bit RGB color (which means each pixel can show one of millions of color shades), and it is designed specifically to work with Raspberry Pi boards. When the screen and board share a maker, you skip the compatibility research.
Physically it is light — 10.6 ounces — with a black bezel that frames the picture cleanly and a responsive touch layer for navigation. The vertical 720 x 1280 orientation is unusual compared to the landscape panels above, and it suits tall layouts like a vertical control panel or a scrolling status feed better than a wide dashboard.
Its track record is the caveat: it reached the market in July 2025 and has far less owner history behind it than the ELECROW or Hosyond screens, so long-term durability is unproven rather than known to be a problem. Want a screen with years of owner reports behind it? An established third-party panel is the safer bet. Want official first-party support? This is it.
Why it earns a place: official Raspberry Pi compatibility with no adapter guessing, at 7 inches and 720 x 1280.
Fair warning: it is the newest screen here, so you are an early adopter on a short evidence trail.
Suits you if: you would rather buy the official part and skip the compatibility gamble entirely.
Pick a rival instead if: you want a landscape dashboard or a long track record before you commit.
Know the Specs
Resolution and Pixel Density
Resolution is the count of pixels across and down the screen — 1024 x 600 means 1024 pixels wide and 600 tall. Higher numbers fit more text and finer detail. The subtle part is pairing resolution with screen size: 1280 x 800 spread over 10.1 inches looks crisper than 1024 x 600 on the same size panel, because the same sharpness level is packed into more pixels. For a terminal or dashboard, resolution and aspect ratio together decide how much you see before scrolling.
Capacitive Touch and Touch Points
Capacitive touch senses your finger through a change in the glass’s electrical field, which is why it responds to a light tap. The “5-point” figure means the panel can register five fingers at once — useful for pinch, zoom, and swipes. The catch is that the operating system sometimes limits it: several HDMI screens here run five-point touch on Windows but single-touch on Raspberry Pi OS. If you only tap buttons, single touch is enough; if you gesture, check the OS line in the spec sheet.
Connection: Ribbon Cable vs HDMI plus USB
A ribbon-cable display plugs directly into the Pi’s display connector and draws power from the board, which makes a compact single-cable build. It generally only works with Pi boards. An HDMI screen sends video over HDMI and touch over a separate USB cable, so it also works with a Windows PC, game console, or laptop. Choose ribbon for a dedicated appliance, HDMI for a screen you want to share between devices.
Brightness, Contrast, and Viewing Angle
Brightness is measured in candela per square meter (cd/m²) — the higher the figure, the better the screen competes with room light. Contrast ratio compares the brightest white to the darkest black, and a 2000:1 panel keeps dark themes deeper than a 700:1 one. A 178° viewing angle means the image stays readable when you view from the side rather than head-on, which matters for wall-mounted or shared screens.
Common Questions
Will an HDMI Raspberry Pi touchscreen work with my Pi 5?
Why does touch stop at one finger on Raspberry Pi OS?
Do I need a separate power supply for the screen?
Is 800×480 good enough or should I pay for 1024×600?
Can I use a Raspberry Pi touchscreen with my laptop or a game console?
Should I mount the Pi on the back of the screen or keep it separate?
Does the touchscreen come with a stand and cables?
What does the viewing angle number mean in practice?
Is a brighter screen worth choosing over a sharper one?
The Bottom Line
For most builds, the raspberry pi touchscreen that makes the most sense is the ELECROW 5-inch, because it pairs a sharp 1024 x 600 IPS panel with driver-free setup and a standoff kit in the box. If you want the screen to become one slab with the board, grab the FREENOVE 5-inch for its single-ribbon build. And for a dashboard that has to be readable across the room, the ELECROW 10.1-inch is the one to reach for, with the highest resolution and contrast on this list. Buy on that logic and you get a screen that fits the build instead of one you fight with.
How we choose
We do not accept paid placement. Every pick is matched to a real buyer and a real use-case; we do not hands-on test units.
Sources
Specifications: manufacturer listings and product documentation. Review insights: verified customer reviews, as of November 2026. Pricing: not shown on this page (it changes often); check the current price via the retailer link.
As an Amazon Associate, Tactical Gear Guy earns from qualifying purchases. This does not affect which products we feature.